Back in around the 2012 release of TFS (now known as Azure DevOps) we were introduced to the concept of Teams. This was a logical breakdown of a single project that typically could represent an organization or at least a division. I come from the camp of one collection and one project as this gives you the most value and best experience and even though the product has evolved to be even more flexible then it has I think this is still the best approach to take today. If you are unfamiliar with the one Project to rule them all here are some excellent blog posts to get you up to speed on the concept: Why You Should Use a Single TFS Team Project One Team Project to rule them all
SubTeam’s
Almost as soon as we were given teams many of my customers started asking about sub teams if we could break a team up into smaller components but still have them rolling up to a parent or an overall team. Well right from the beginning of Teams we were sort of able to do this because the team is really defined by the Area Path. The Area Path is one of two controls that we have in TFS that is a tree control and capable of nested items.
Since the 2012 of TFS, when you create a Team Project it creates a Team of the same name as the Project. This means that any team that you create is really a nested child of this parent team.
The default behavior of creating a team is to create an area path with the same name as the team just under the root name of the Project which is parent team. If we want to create any sub teams we need to do things a little different from the default way that we create them. Lets walk through those steps.
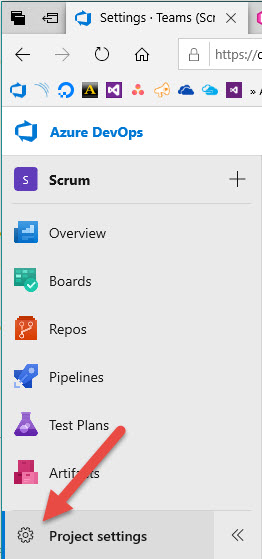
- First be sure you are in the Project and not at the Organization level and at the bottom of the menu you will find a gear icon called Project settings. Click on the icon.
- Under the General section of this menu you should see a menu item called Teams. Click on that, the line becomes a click item when you hover over it.
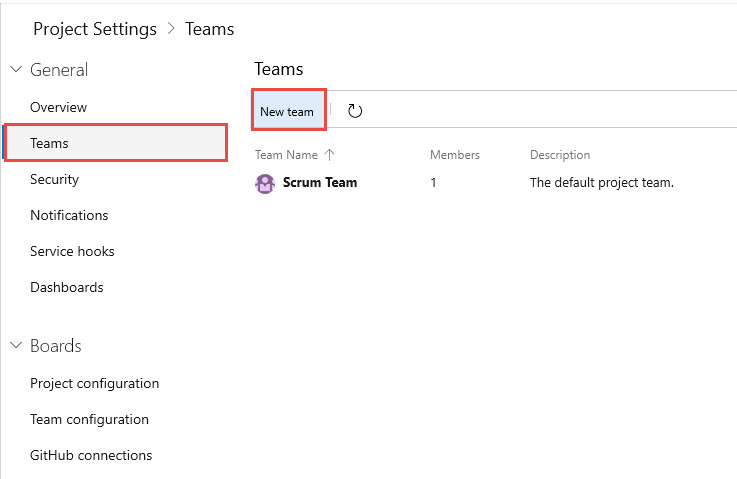
- Right under the Header of this page you should see what could be a button called “New team”. Click on the button.
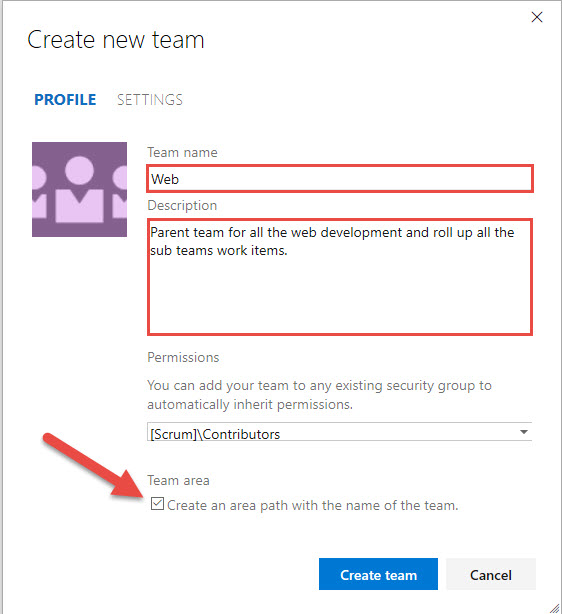
- We are going to call this team “Web” as this will be our parent for the web development that we shall perform. Fill in the Team name and give it a description. Note: for the creation of the parent team we leave the checkbox checked that says “Create an area path with the name of the team.” In later steps when creating the sub-teams it is important that we uncheck that box. More on that a little later. Click on the Create team button.
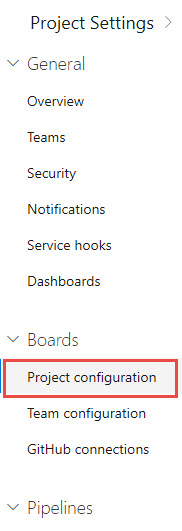
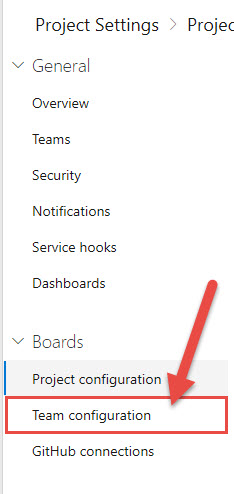
- Still on the Project settings page, under the Boards section of this menu you should see a menu item called Project configuration. Click on that, the line becomes a click item when you hover over it.
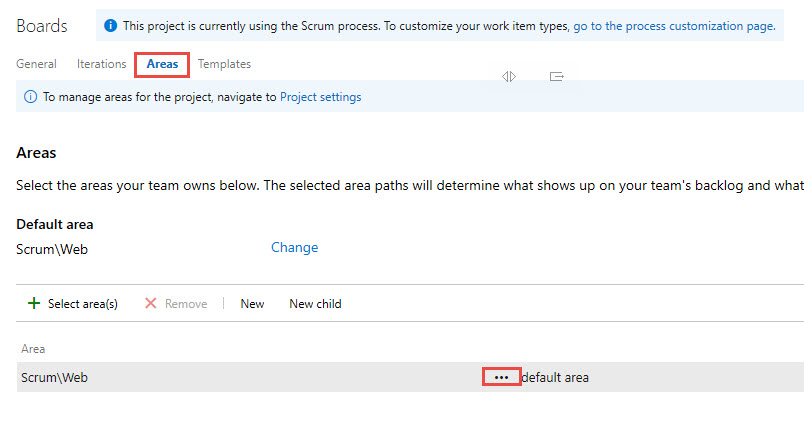
- This by default takes you to the Iterations management area. Up close to the top of this page beside the Iterations you should see Areas. Click on that, you mouse should turn into a hand when you hover over the word Areas.
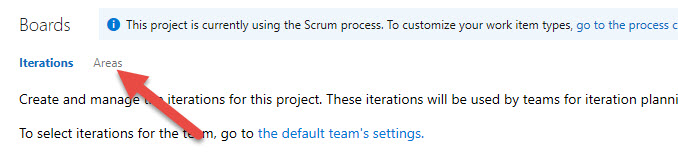
- Here you will see that the Web area is listed which happened when we created the Web Team (remember the checkbox to create an area path). Now select the Web in the area and click on the New Child button.
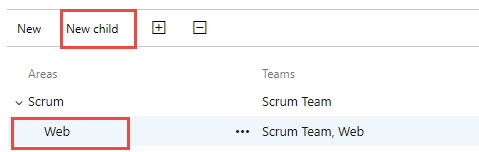
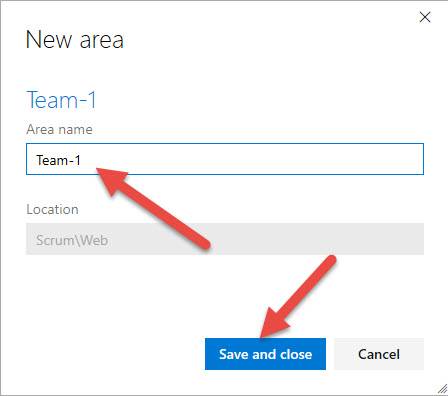
- I am going to call this new Area name with Team-1 and click on the Save and close button.
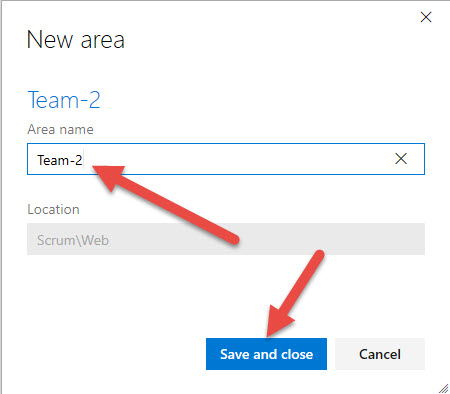
- With the Team-1 still selected we are going to create another child at the same level as this one and is going to be a sibling to this so instead of the New child button we click on the New button as this will create a new Area at the same level as the currently selected area.

- I am going to call this new Area name with Team-2 and click the Save and close button.
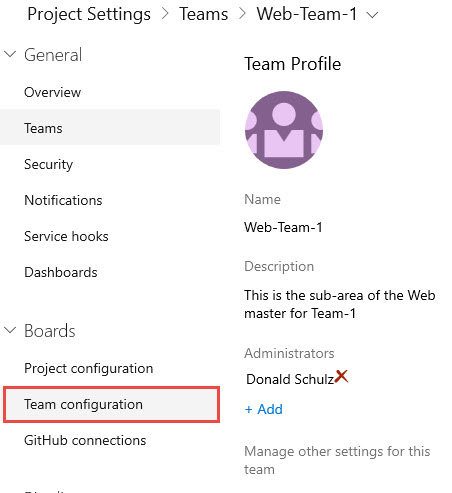
- Still on the Project settings page, under the Boards section of this menu you should see a menu item called Team configuration. Click on that, again the line becomes a click item when you hover over it.
- You should still be on the Web Team, click on the Areas link and there you should see the area path of the Web. You won’t see the child area paths in this view but we do want their values to roll up to this master web team page. Click on the ellipse button right beside the text default area.
- In the menu that pop’s up select the item that says “Include sub areas”
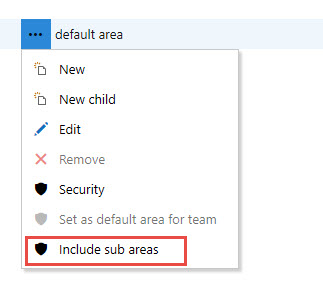
- After you clicked that you should see the “sub-areas are included” message on the right of the default area. This is what you want to look for when you are trying to determine why some master teams are not getting their work items rolled up to the top.

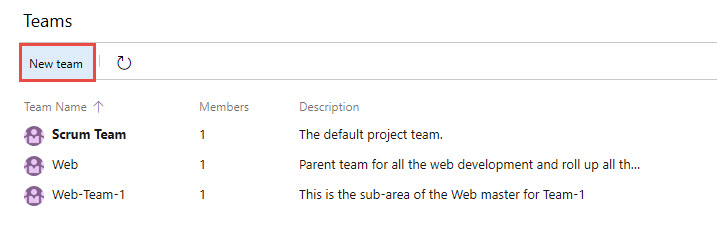
- Now we are ready to go back to the teams page and create those other two teams that we created an area path for. Back on the Project Settings under the General area click on the Teams button.

- Click on the New team button

- This time in the Team name call this “Web-Team-1” because these teams will be listed as a list and the only way to know first hand which are parents and which are children is by naming convention and you will want to keep the parent together with their children and the only way to do that is to make sure that the parent is the beginning part of the name of the team.
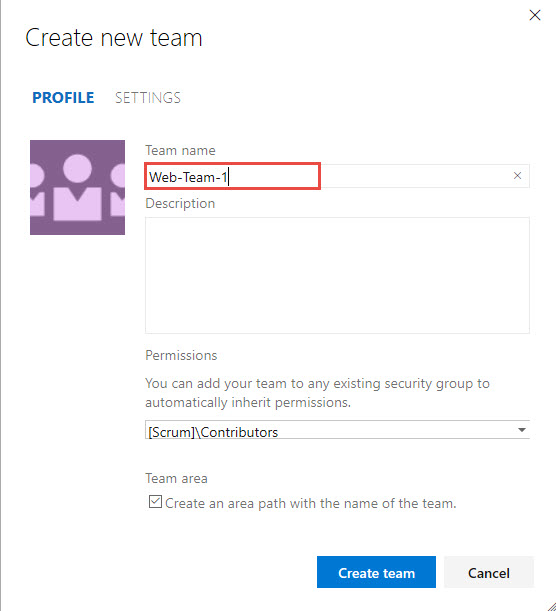
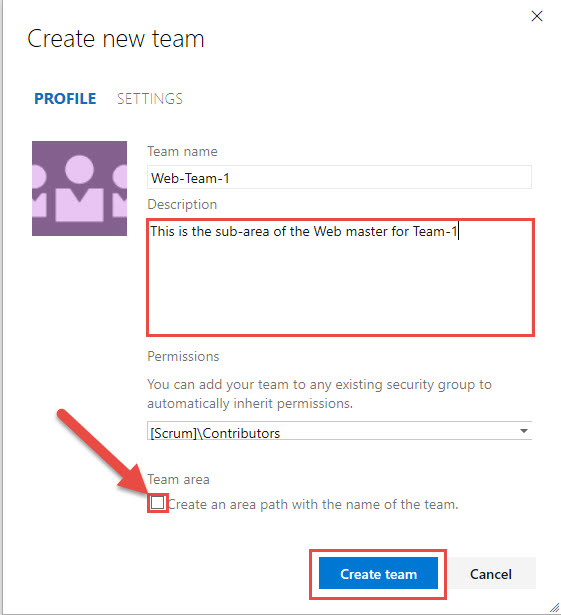
- This next part is very important to observe, make sure that you un-check the Create an area path with the name of the team check box. We already have an area path and we will assign that area path to the team in a couple of steps from now. Enter a description and then click on the Create team button.
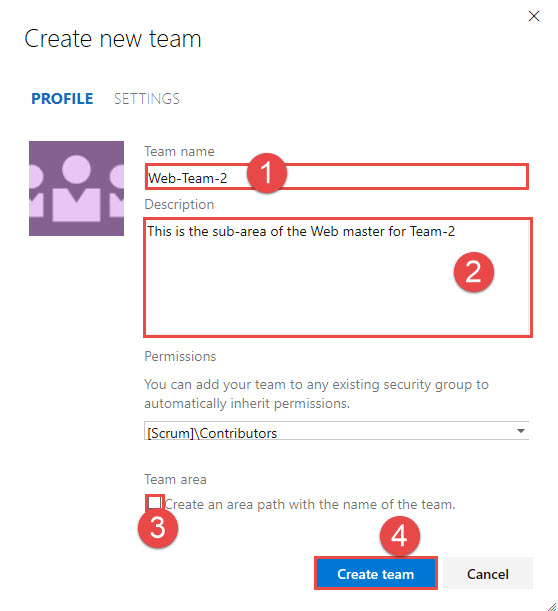
- Click on the New team button once more.
- Name this team “Web-Team-2”, put in a description and remember to un-check the Create an area path with the name of the team check box and then click on the Create team button.
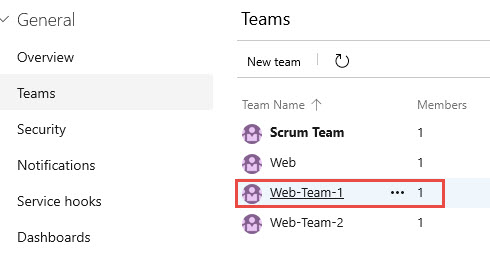
- Now that we have the teams created we need to attach them to the correct area path. First click onto the Web-Team-1 link so that we are on that team.
- Click on the Team configuration link.
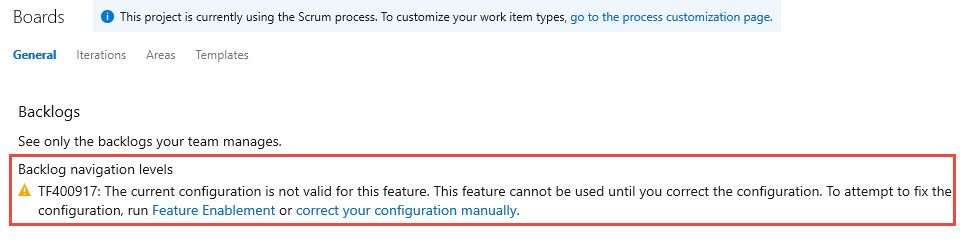
- You will see a warning message and this warning is related to exactly what we are going to fix right now. Currently those two sub-teams are in an invalid state.
- Click on the Areas sub tab at the top of this section.

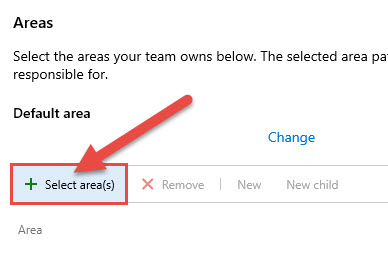
- Lower on this page you should see a big green cross called Select area(s), click on this.
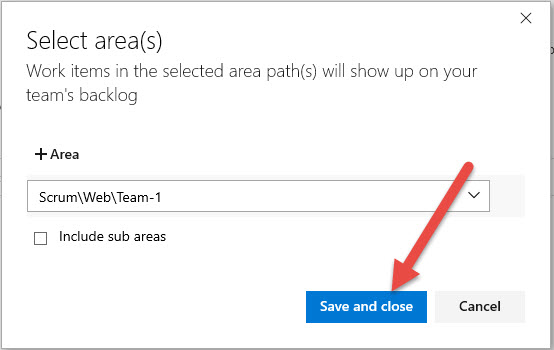
- This opens a new box and you want to expand the carets until you see the Team-1 area. Click on Team-1.
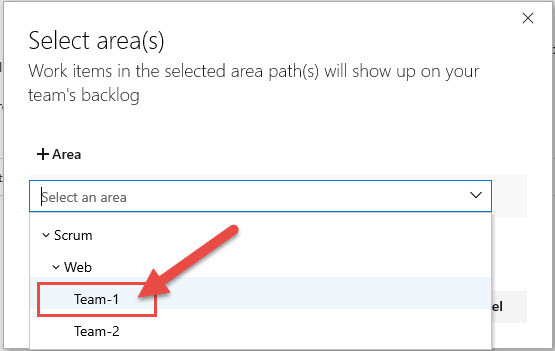
- Click on the Save and close Button.
- Repeat the same thing for Team-2 start from Task #21 and hook it up to the Team-2 area path.
At this point you will have two sub-teams who’s backlog list will roll up to the master web team. On the web team you will see all the work items from all the sub-teams below it. With this configuration you get your own dashboard and Kanban board as well. Let’s say that you like a similar benefit like separate backlog lists but don’t want the overhead of additional dashboards and Kanban boards and sub-team names that like flat on the full list of teams. With the new filtering of the backlog lists this is now possible. Lets look at that solution next.
One Team to Manage my Sub-Teams
To work with the existing things that we already have I am just going to delete the two sub-teams but leave all the area paths in place and configured as they were.
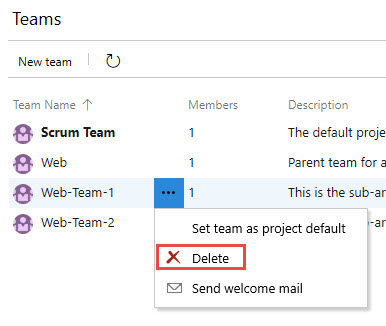
- Deleting a team is just as easy as it was to create them. While we are still on the Project Settings page we want to click on the Teams button so that we see our list of Teams.
- Click on the ellipse button and on the menu that pops up click on Delete"
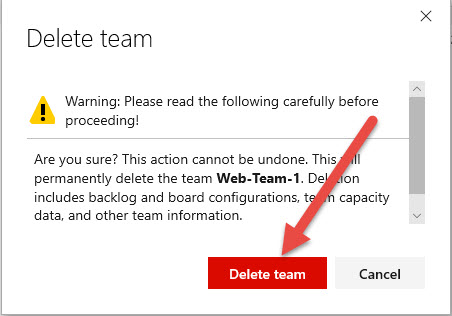
- A warning window pops up and on here you click the Delete team button.
- Repeat the same operation to Delete Team-2
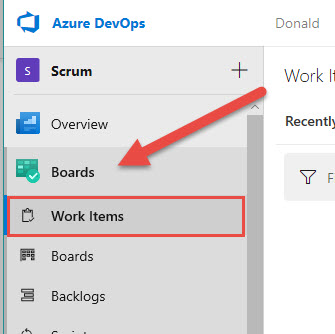
- So that we can see some data for there various sub teams we should add some data so that we can see how the filtering works on the one Web Team backlog list. On the Boards menu click on Work Items.
- Click on the New Work Item drop down and choose Bug.

- Give this bug a title of “This is a team-1 bug” and then select the correct area path which should be \Web\Team-1 as you probably realized, even though we deleted the team, the area path still stays. Then click the Save button.

- Repeat the process and make another similar bug for Team-2
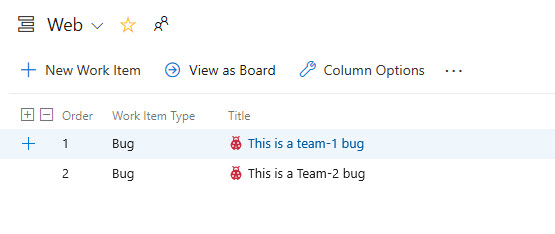
- Now with two bugs from two different teams lets go the backlog list for the Web. Click on the Backlog menu item under the Boards menu and then expand the All teams backlogs so you can click on the Web backlogs item.

- You will see both of these bugs listed here because back in our previous exercise where we were creating teams we set the default behavior of the areas to roll up to the parent which in this case is Web.
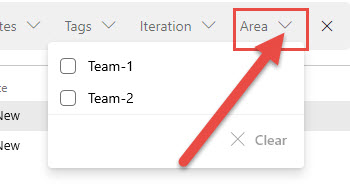
- Now, lets say we just want to see the bugs from Team-1 which is what you would see if you still had a Team-1 team. Over in the upper right hand corner there is an icon that looks like a funnel. This enables the Filter tool bar.

- Click on the Area dropdown and you see that I see my Team-1 and Team-2 (these are my sub-area paths).
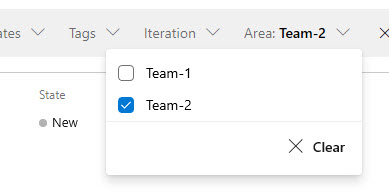
- Click on the Team-2 checkbox, instantly the filter kicks in and you only see Team-2 work items.
- This will also work on the Kanban boards you have the same kind of filtering setup here as well. The thing that I like about this method for handling the sub-teams is that if I had several teams under my parent team I could combine a couple of teams together in any combination that I need which is something I would not be able to do on the fly with the sub-team configuration.
These are the two ways that I can see working with Teams and Sub-Teams right now. If you don’t need the luxury of a separate burn down chart and capacity planning at the sub-team level I think you get everything you need right here with the single major area and manage the smaller breakdown of work using the nested area path. Just remember to turn on the rolling up of sub areas up as the default is not to.